We have put together this guide for backing up footage with our DVR so you can then store it for later viewing or give to the police if required.
First and foremost you will need to connect a memory stick to one of the USB ports on the DVR, there is one on the front and one on the rear. Before we start please make sure that the USB stick it is formatted to the Fat32 file system. This can be done by plugging in to a computer and checking the properties, it is also a good idea to make sure the the stick is blank in case there is a lot of footage that needs to be backed up, but later on we will find the exact total size of the space required.
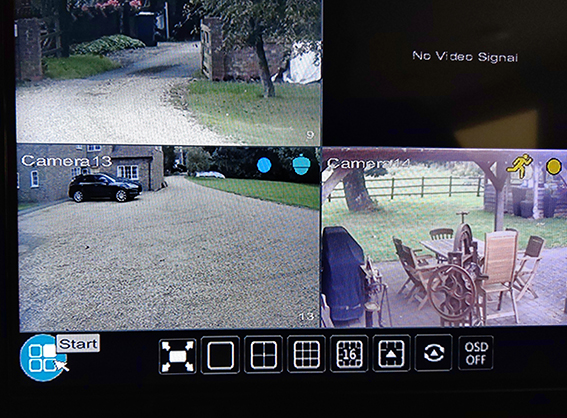
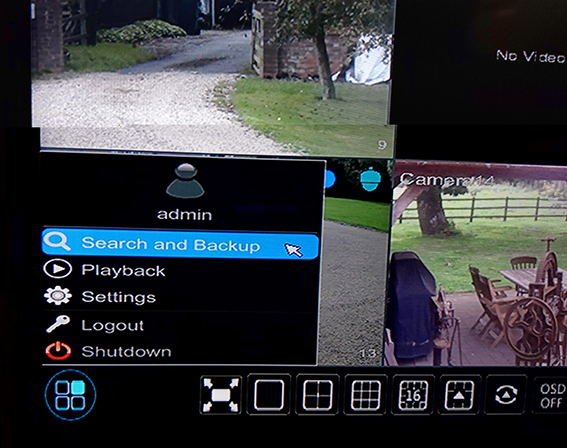
On the DVR click on the "Start" button in the bottom left corner of the screen and then choose "Search and Backup" from the popup menu, if you can not click it or its greyed out login to the DVR and try again.
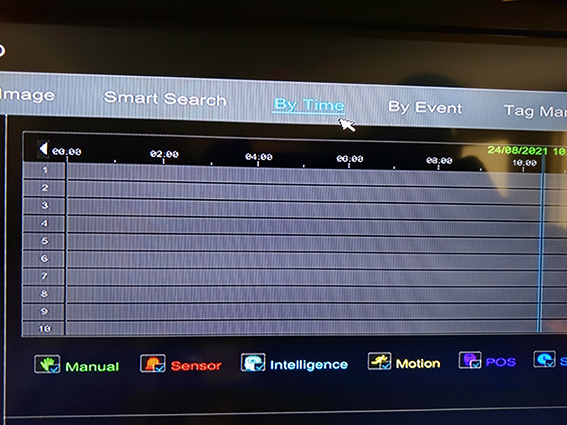
Then across the top of the screen choose the link for "By Time".
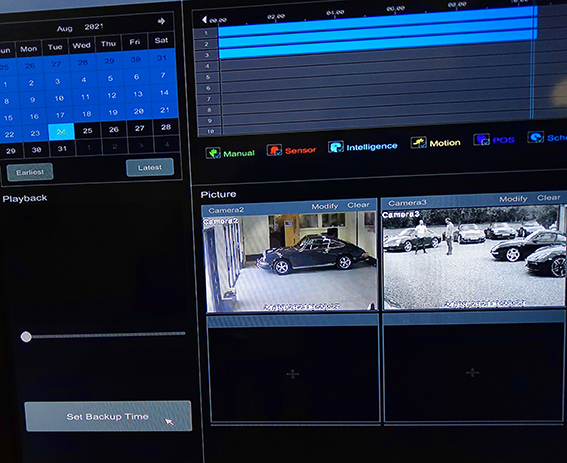
The screen below shows the layout of the main backup window, if you already know the time and date of the incident you want to back up make sure you have it noted down some where, we can also find this information out later in the guide as you will also be able to both search through and backup the footage from this one screen.
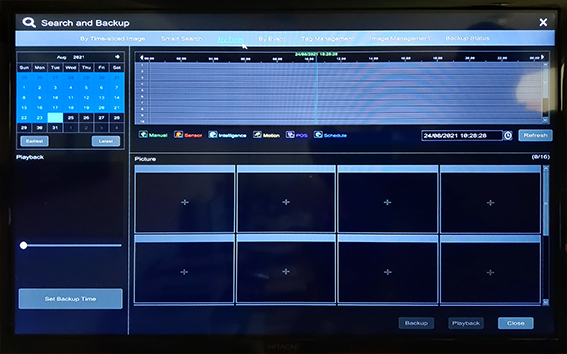
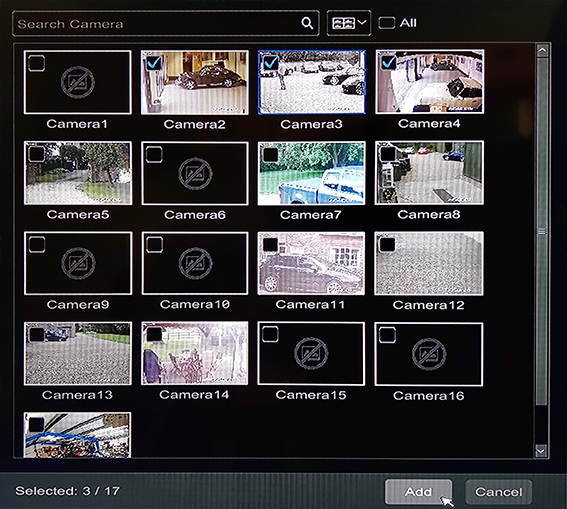
Under the picture section you will notice the squares with crosses in the middle by clicking on one of them a pop up will allow you to choose the camera or cameras that you would like to backup from. Choose as many as you require and then click "Add".
The top half of the screen will now allow you to, if you do not know the start and end time and date of the footage you want, to scrub through and note down that information. Once you have that, click on the "Set Backup Time" button in the bottom left.
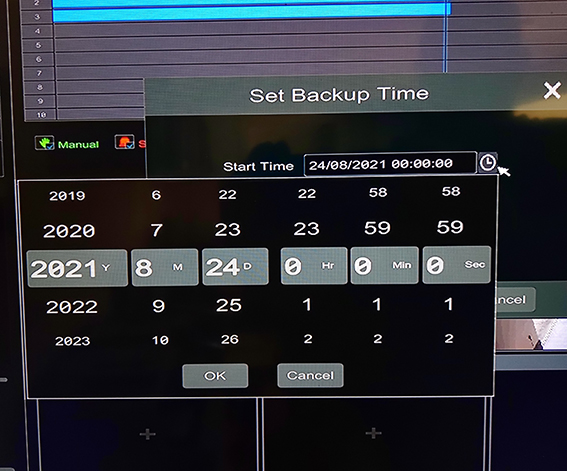
Another popup screen will appear this time allowing you to enter the previously noted down information, clicking on the clock icon will let you adjust the time and date. You can either click above a below the relevant numbers to adjust the dials or if you haver over with the mouse you can use the mouse wheel. Click "OK" when finished.
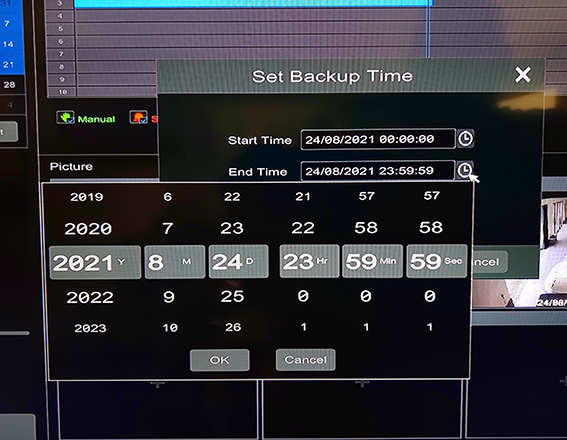
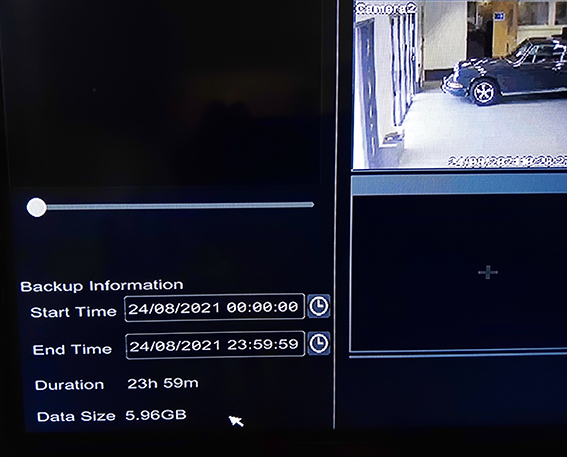
This will close the pop up and you will notice that the "Set Backup Time" button has been replaced with the start/end date/time, the duration of the recording and as mention at the beginning the total size of data that the memory stick requires.
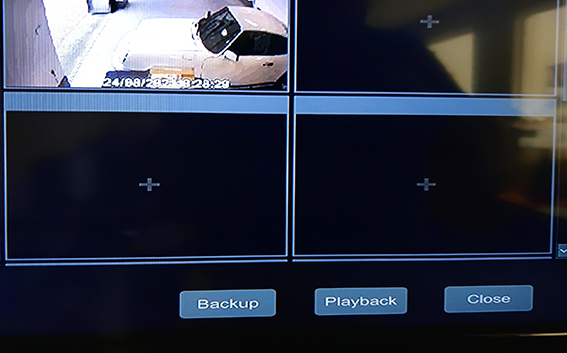
If the memory stick has not been inserted yet, please insert now and then click the backup button on the right hand side.
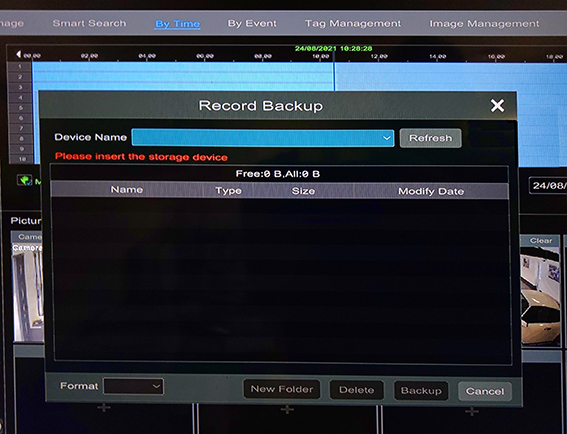
A record backup window will appear and this should auto populate with the memory stick information, the Format will be AVI and you can also create or delete files and folders if you need to organise any items you may have on the stick. Once you're happy to proceed click on the backup button in the bottom right.
If you would like to check the files have backed up correctly we have a small selection of media players and zip utilities which have the required H.265 codec built in to play the files and these can be found on our support site as well.