We have put together this guide for setting up a remote connection with our DVR's so you can view your cameras from potentially anywhere in the world. We can also offer our Remote Setup Service where we can setup the system for you, this utilises port forwarding on your router and has the added ability to view your cameras from a Mac or PC.
We will need to set up the DVR firstly so that it is ready to accept the connection from your devices this can be done by the follow steps:
First and foremost connect the the DVR to your router either by an ethernet cable or, if running an ethernet cable is a problem, using a wireless extender which will allow your router to pick up the DVR or a Home Plug can also be used.
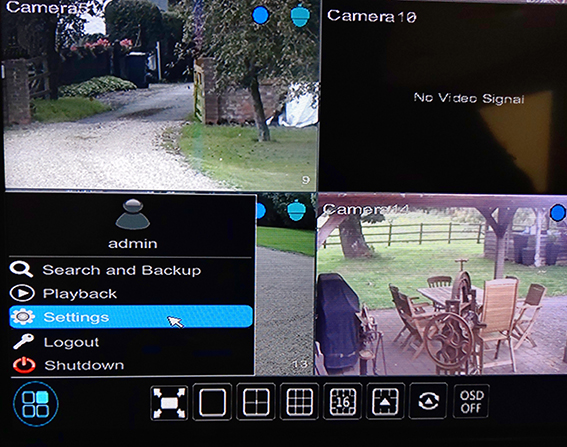
On the DVR click on the "Start" button in the bottom left corner of the screen and then choose "Settings" from the popup menu, if you can not click it or its greyed out login to the DVR and try again.

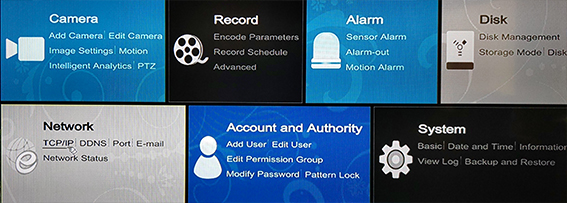
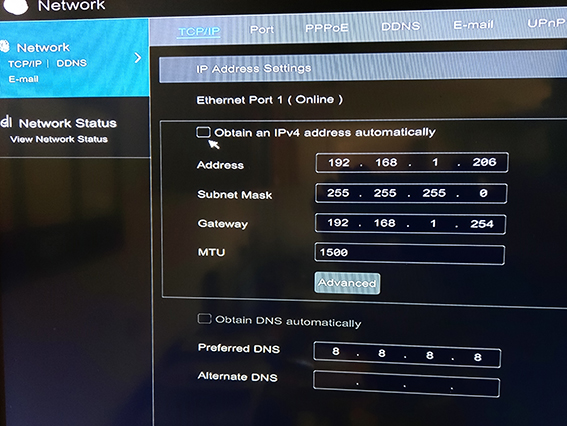
Then under Network click on the TCP/IP link.
On this page make sure there is a tick in the "Obtain an IPv4 address automatically" box and then click apply to save.
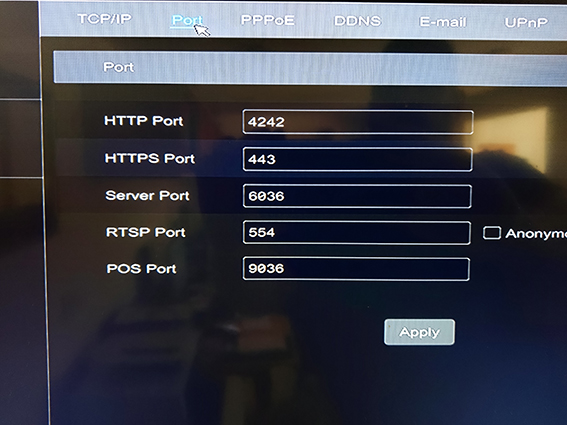
Once done, across the top of the page next go to Port and change the HTTP port and Server port to any 3-5 digit number but they need to be different from each other, then click apply to save.
Across the top again to UPnP and make sure there is a tick in the "Enable" box and that the map type is set to auto and click apply to save.

Across the top again to NAT and make sure there is a tick in the "Enable" box and click apply to save.
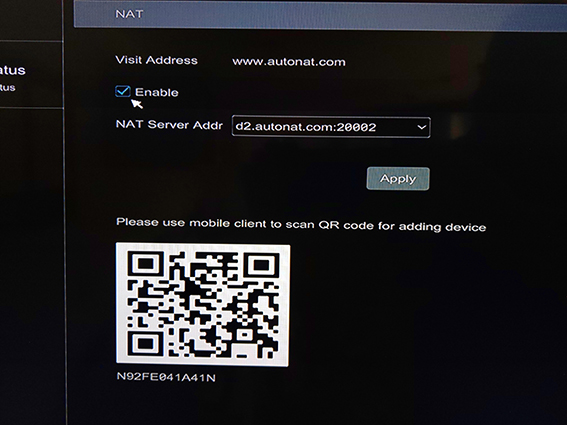
Leave this page open on your screen as we will be needing the serial number which you can see under the QR code or the QR code itself later in the guide.
We will now be covering the app side of the connection.
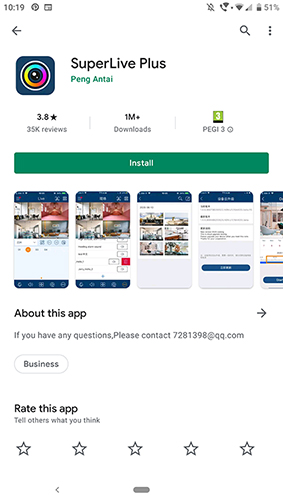
So on your phone or tablet go to your app store, either the Appstore on Apple or Play store on Android and search for an app called "SuperLive Plus", it should look like the image below and install the app and agree to any permissions it asks for.
When first starting the app it will take you through several tutorial pages which you can either swipe through or tap on skip and you will then be presented with the option of local or start, tap on start.

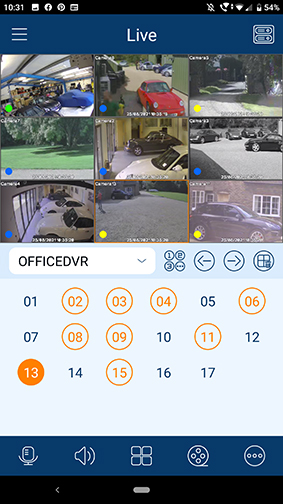
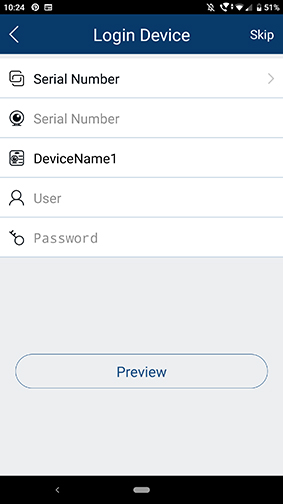
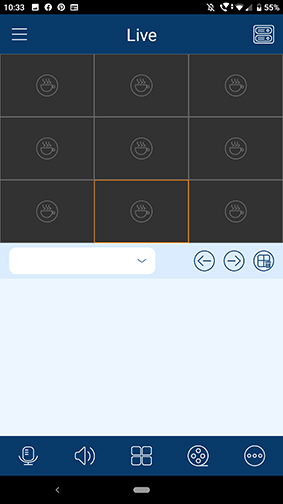
You will now need to fill in the details for the connection: The serial number (which can be found on the NAT page which should still be displayed on your monitor). A nickname of your choosing the default being "DeviceName1" and Username/Password for the DVR. If you would like to bypass this stage tap on skip in the top right corner which will then take you to the Live page.
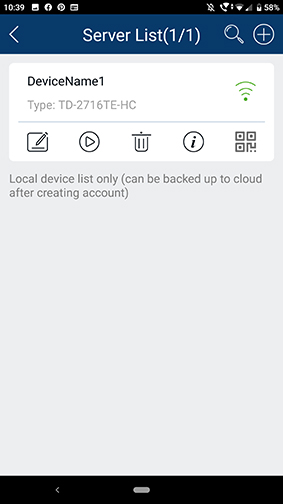
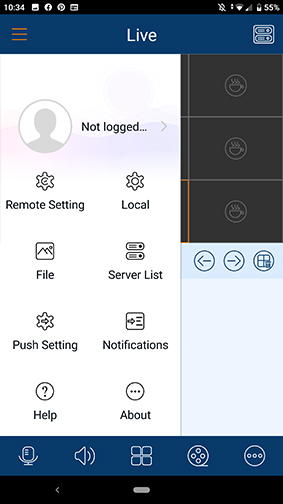
From here you can access other features or add multiple DVRs or connections if you have them by doing the following. Tap on the three little lines in the top left to bring up the options menu and choose Server List.
This page will list all of you connection entries, but at the moment there should be none. Tap on the "+" symbol in the top right and choose scan code and then scan the QR code on the DVR monitor screen, the information will be filled out for you for adding a device. You may still need to fill out the device name, user and password for the DVR and tap save.
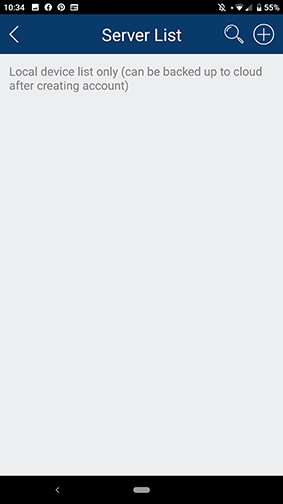
Once saved it will take you back to the server list page and there should now be one entry. All things being well the little wifi icon on the entry should be a solid and green colour at which point you can tap on the back arrow (top left) to take you out and back to your live camera feeds. If the Wifi icon is a grey/black colour and searching then tap on the pen and paper icon to allow you to edit the information and make sure all information is correct re-typing the password for example is a common culprit as is auto correcting on the user and domain host and save to keep the settings.