This guide will show you have to set up the NVMS software to veiw your DVR and Cameras on your computer. We can also offer our Remote Setup Service where we can setup the system for you, this utilises port forwarding on your router allows you to view your cameras from a Smartphone, Tablet and computer (Mac or PC).
Firstly you will need to download and install the the correct software for your computer either Mac or PC and this can be found on our NVMS 2.0 download page.
Once installed you will have the below icons, the monitor client and the server tray, the server tray can for the most part be ignored and the monitor client will start the software.
When the NVMS software starts you will be presented with the login dialog the default login details will be username: admin and password: 123456.
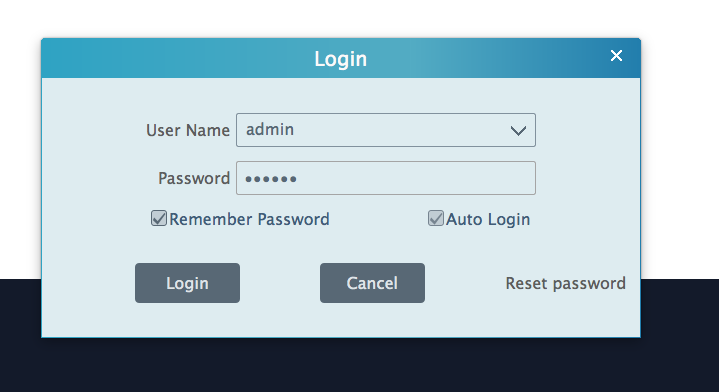
If you would like bypass the login screen in the future you can also tick the "remember password" and "Auto Login" this will skip the login next time you open the software.
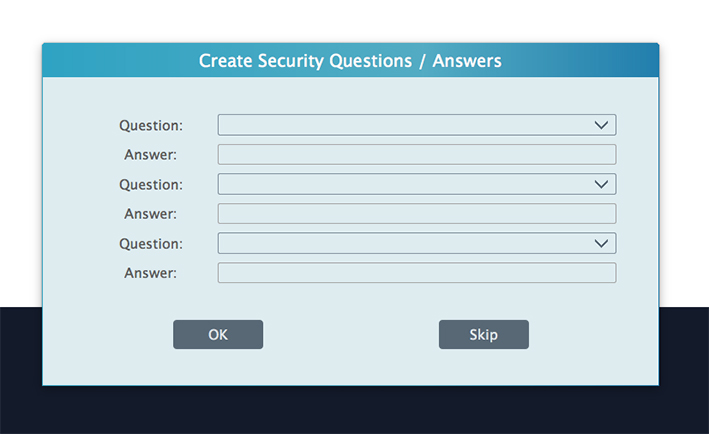
Next you will be presented with the option to create security question and answers or you can leave them blank and skip past this.
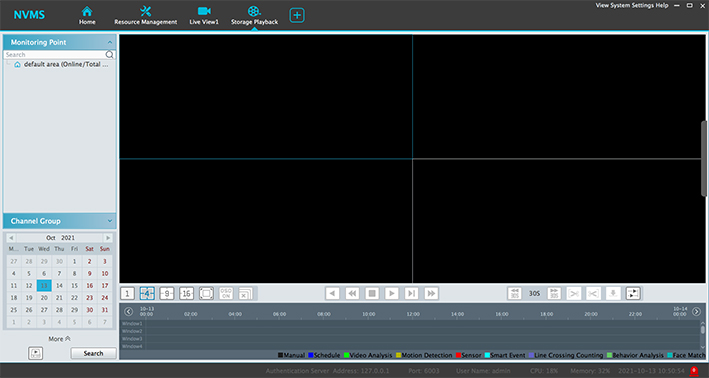
Once the software main screen opens, it may have selected "storage playback" by default
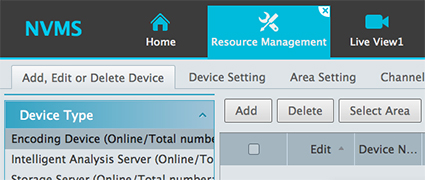
You will want to click on the resource management tab to then click the "Add, Edit or Delete" button to add the DVR to the software
A window will then pop up and if we're lucky it may recognise the DVR and have it listed in the quickly add tab it will then just be a matter of checking the box next to the DVR and clicking OK.
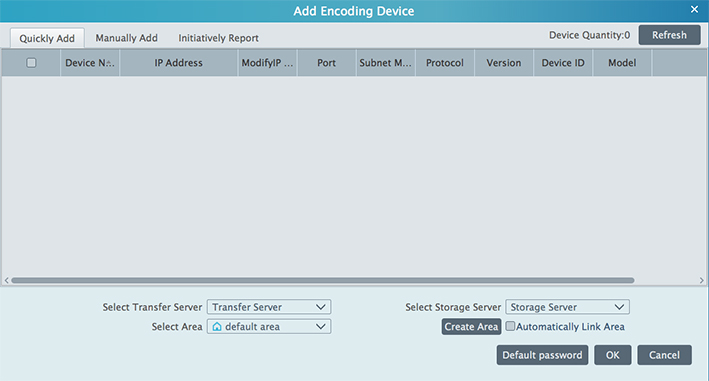
If the DVR isn't in the list then we will need to add it manually.
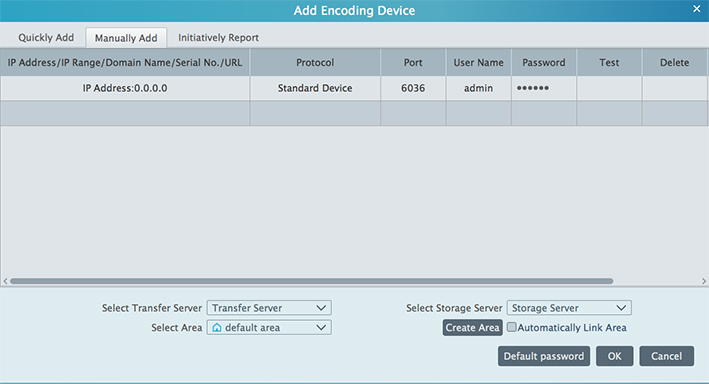
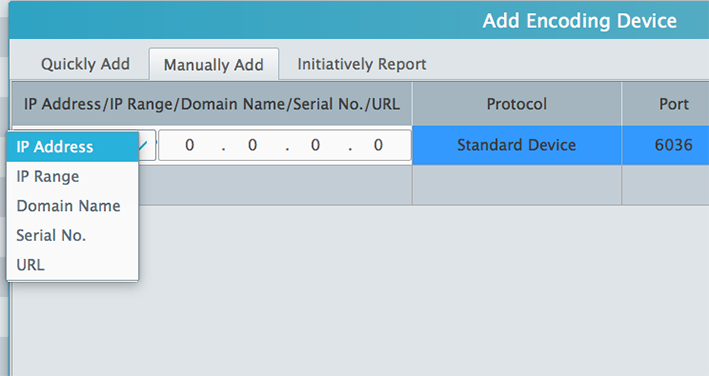
by clicking on the IP address it will give you some options for connection types the three we usually use is "IP Address, Domain Name and Serial Number".
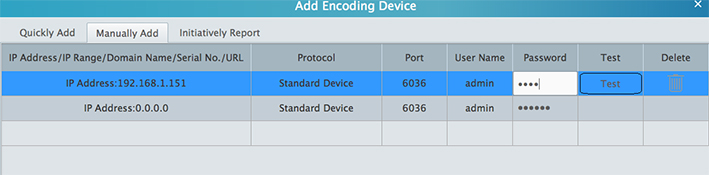
The next step is to input the password for the DVR.
Also select the area (or group) you want to assign the cameras too, this is normally more important if you need to intergrate multiple DVRs and want to keep them in orderly sections. There is a default area as a standard general pool.

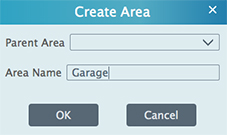
There is also the option to customise the areas so they are more specific to your needs which can be done by clicking on the create area button.
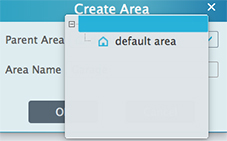
To create a new area click on the Parent Area drop down and choose the blank option, input the area name (this can be called anything you like) and then OK, if you do not change the parent area it will nest your new area under which ever area you have assigned as the parent.
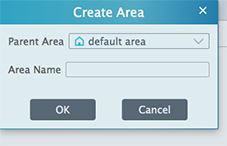
Once you have created your new area you can then select it under the select area section and then click OK to finish.

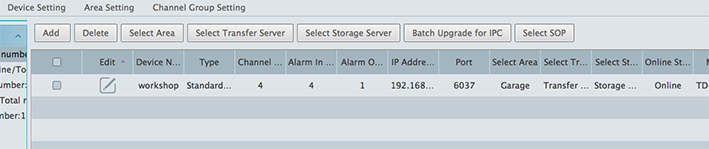
You will then be taken back to the resource management screen where you will find your DVR has now been added to the list, you will also notice that the information looks “greyed out” while it is searching for and connecting to the DVR
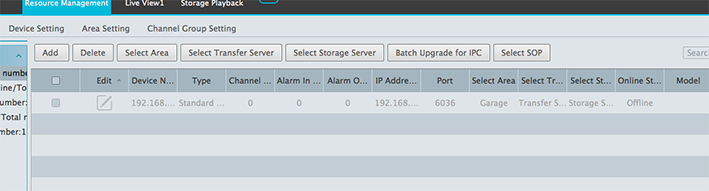
this will turn black and fill out the channel, alarm in/out sections once the connect has been established
If after a few minutes it doesn’t turn black, if you look under the Online Status column it will give an error message, in most cases the information that has been input may be incorrect and will need adjusting which can be done by clicking on the pen/paper under the Edit column.
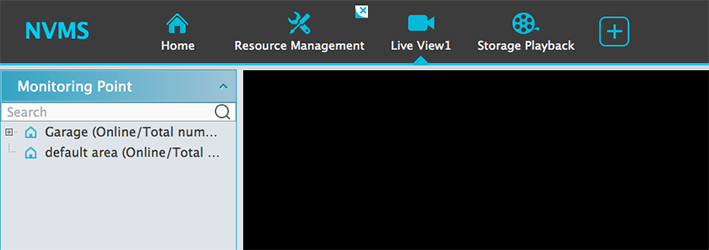
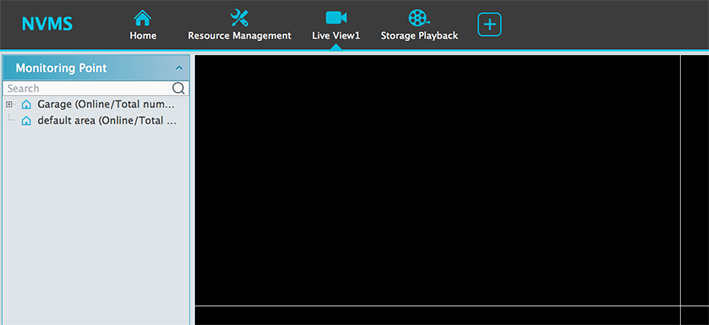
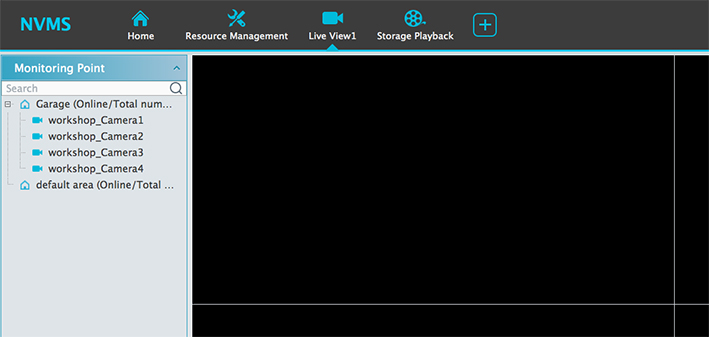
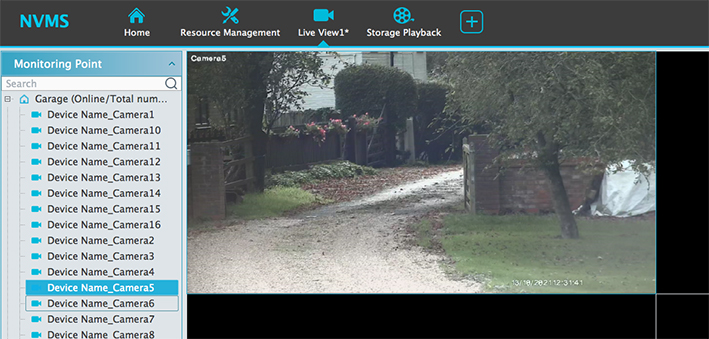
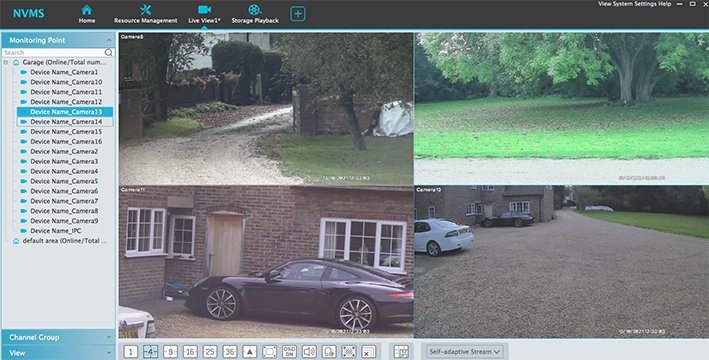
Clicking on the “Live View” tab across the top will now allow you to view your cameras but the camera layout will need to be populated first. On the left of the screen under “Monitoring Point” you will notice the default area and if you created a custom area that will also be listed there. A small “+” symbol will be to the left of the title to signify that area has some cameras assigned to it and can be expanded by clicking.
Hold left-click on one of the cameras and drag across to one of the blank window to the right and keep doing this for each of your cameras, to change the layout for more cameras at the bottom of the feed windows you will notice white boxes with numbers in and this will split the window accordingly or the white box with the black triangle will give even more layouts
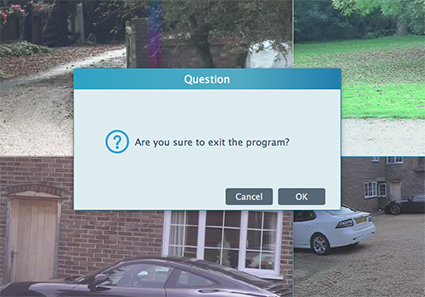
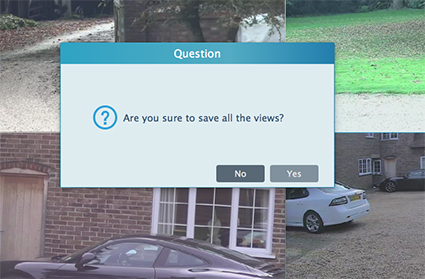
and that’s it for getting started with the NVMS software, when you come to close the program, click OK to exit and it will also ask to save the populated camera layout so when next started it will be ready to go, click yes to save.